
The Cudy WR3000P is a Wi-Fi 6 router that has excellent support by the OpenWrt project. It has a MediaTek MT7981 (Filogic 820) 64-bit dual-core 1.3 GHz CPU, 512MB of DDR4 RAM, a 2.5Gb WAN port, 4x1 Gb Lan ports, and can be powered by PoE via the WAN port.
Full technical details for the router can be found on the OpenWrt project’s device page for the Cudy WR3000P v1.
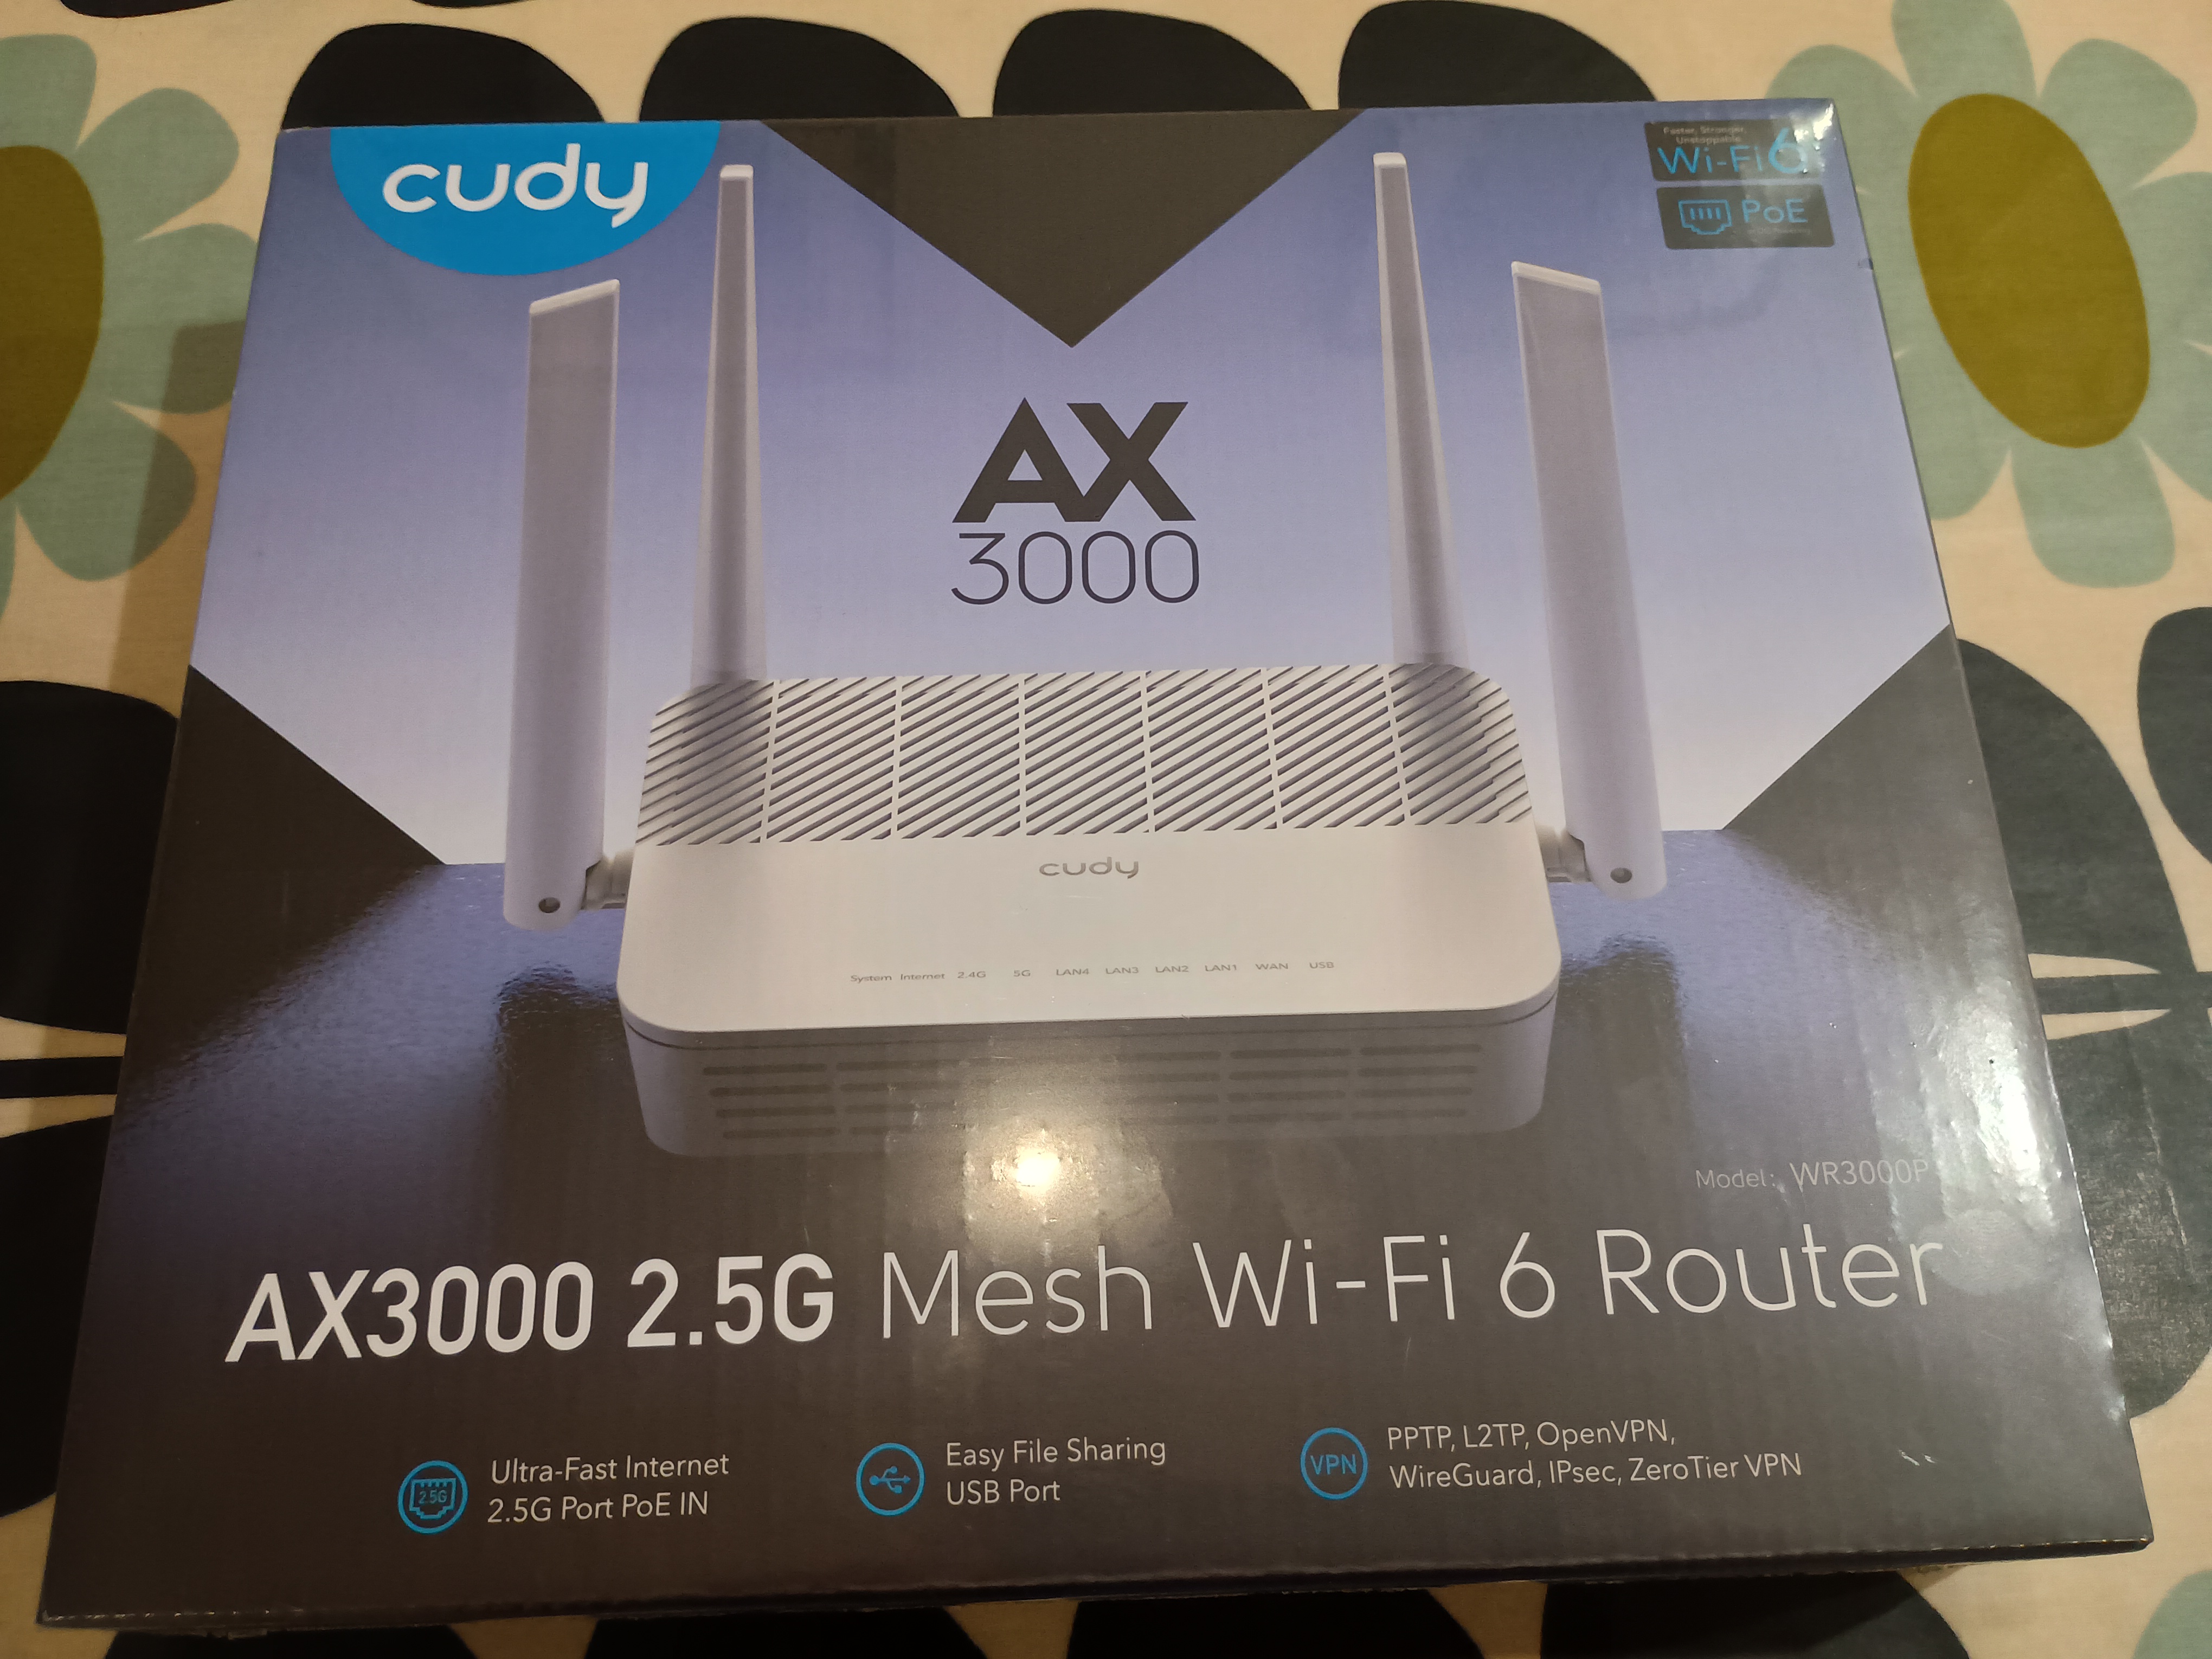
There are two OpenWrt builds for the Cudy WR3000P: a standard build which can be flashed using the stock OEM firmware onto the existing UBI partition, and which works with the stock flash partition layout. This is by far the easiest and safest way to flash OpenWrt on the WR3000P.
There is also a second “ubootmod” build, which includes a new U-Boot bootloader and a modified partition layout. This is considerably more work to do, and carries more risk of bricking the router, but has some benefits.
Both procedures are documented here.
Flashing OpenWrt using the OEM firmware
For the steps documented here, I followed the OpenWrt project’s device page for the Cudy WR3000P v1.
Download the intermediate OpenWrt image from the Cudy website
The intermediate image is needed because the stock Cudy firmware will only allow flashing the device with images that have been cryptographically signed by Cudy, which the standard openwrt images have not. Once the device has been flashed with the intermediate firmware, we can then use it to flash whatever version of openwrt we like.
Download the intermediate firmware image from the Cudy website. Note the warnings about a recent change to the flash chip in 3000 series devices since November 2025, which won’t boot openwrt images older than the 24.10.5 release. If you are using this version or newer, you can ignore this as they fully support the newer flash chip. The Cudy page above explains how to check which version device you have if you are concerned about it.
Download the ‘WR3000P 1.0.zip’ file (or newer) from the google drive folder.
Unzip this file to unpack the image, which will be called something like cudy_wr3000p-v1-sysupgrade_20251119.bin.
Download an OpenWrt image from the OpenWrt project
You need the latest sysupgrade image for the cudy_wr3000p-v1 build target. Remember that if you have a model that has the newer flash chip in it, you need version 24.10.5 or above. The easiest way to find an image is by using the OpenWrt Firmware Selector.
I downloaded this image.
Power up the router
Connect an ethernet cable to the router’s WAN port. I used an appropriate VLAN on my home network.
Connect up the power via the barrel jack adaptor. This router is also capable of being powered via PoE on the WAN port, but I haven’t tried that yet.
You should now be able to connect to the Cudy’s Wifi access point, which will be called something like “Cudy-XXXX”. The Wifi password is printed on the bottom of the router.
You can now open the Cudy’s web portal in a browser at http://192.168.10.1.
When you first access the portal, it will ask you to set an admin user password. This will only be temporary as you’ll be flashing the firmware with openwrt and that will have a different admin user and password.
Go through the rest of the setup wizard, accepting the defaults.

Flash the device with the intermediate image
Browse to “General Settings” and then “Firmware”.
Under the “Local Update” section, click “Browse” and select the cudy_wr3000p-v1-sysupgrade_20251119.bin intermediate image from the “WR3000P 1.0.zip” file. Click Proceed when ready.

Note, the above step failed with an image verification error. I had to go to “Advanced Settings” and then “Firmware” and select the image from there, which worked.
After a few minutes the router should tell you it is rebooting.
Flash the sysupgrade image
The intermediate image is OpenWrt, so its luci web interface is available on http://192.168.1.1. Note for me the intermediate image came up with no Wi-fi enabled, so I had to connect to it via a network cable connected to one of the Lan ports on the router.
Browse to “System” -> “Backup / Flash Firmware”. Under “Flash new firmware image” select the sysupgrade image you downloaded from the openwrt website (not the Cudy one!).
Deselect the “Keep settings” option because you don’t have any settings worth saving at this point and you want the settings from the latest image.
Click “Continue”.


When it has finished flashing the router will reboot, and OpenWrt will be ready for you to configure as you wish.
Recovering from a broken install
It’s possible to recover from a non-bootable firmware install by pressing and holding down the reset button while powering on the router, which will put the device into a recovery mode, where it will attemp to pull a recovery image using TFTP. It assumes a TFTP server on 192.168.1.88. However, unfortunately the stock bootloader will only boot images signed by Cudy, so will only boot the official OEM firmware images and not the openwrt initramfs images. However, you can recover an openwrt system by reinstalling the stock OEM firmware via this method, and then follow the above steps to reinstall openwrt.
The steps for this recovery method are documented on the Cudy website.
If you want a bootloader that will allow you to boot openwrt initramfs rescue images, you can flash the bootloader with the mainline U-Boot bootloader, which is supported for the Cudy WR300P since openwrt 25.12. The steps to do this are documented below. Replacing the bootloader involves a risk of bricking your router, so you do so at your own risk.
Backup OEM partitions
The partition table on the flash drive can be seen by SSHing to the router when running openwrt:
cat /proc/mtd
dev:    size   erasesize  name
mtd0: 00100000 00020000 "BL2"
mtd1: 00080000 00020000 "u-boot-env"
mtd2: 00200000 00020000 "Factory"
mtd3: 00040000 00020000 "bdinfo"
mtd4: 00200000 00020000 "FIP"
mtd5: 04000000 00020000 "ubi"
The “ubi” partition is where firmware including openwrt lives, including the overlay filesystem. “BL2” is the preboot first stage bootloader. “FIP” is the main bootloader. “Factory” holds wifi radio calibration data, and “bdinfo” contains board info and MAC addresses. You will need all of these if you ever want to recover the system if the flash becomes corrupted, or to restore the OEM firmware. In particular, the Factory and bdinfo partitions hold data which are specific to your device and can’t be recovered by other means. So you should take a backup of all these partitions. You don’t need a backup of the “ubi” partition as this is the firmware partition and can be restored using the steps above.
ssh root@192.168.1.1
dd if=/dev/mtd0 of=/tmp/BL2.bin
dd if=/dev/mtd1 of=/tmp/u-boot-env.bin
dd if=/dev/mtd2 of=/tmp/Factory.bin
dd if=/dev/mtd3 of=/tmp/bdinfo.bin
dd if=/dev/mtd4 of=/tmp/FIP.bin
apk add openssh-sftp-server
Now use the scp command to copy these off the router onto your client device and store them somewhere safe, such as google drive or a NAS server.
Flashing the U-Boot bootloader onto the Cudy WR3000P V1 (ubootmod)
The stock bootloader on the Cudy WR3000 series routers is a modified version of U-Boot. It supports rescuing the system by pulling an image with TFTP, but will only accept images that have been signed by Cudy, which means either the stock firmware or the transition openwrt image. It won’t boot openwrt initramfs rescue images, which makes it more difficult to recover a bricked router.
Also, for some reason, the stock partition layout on the WR3000 series routers does not make use of all 128MB of the flash drive. When flashed with OpenWrt, only 44MB is available to use for packages and configuration.
Fortunately, since the release of version 25.12, OpenWrt now supports a modified flash partition layout by replacing the stock bootloader with a mainline U-Boot bootloader, which is known as the “ubootmod”. The benefits of doing this are:
- Unlocks the free space of the flash chip, making ~95MB available to the firmware versus 44MB with the stock layout
- Makes it easier to recover from bad firmware by allowing booting from any image of your choice including mainline openwrt
- Gives you a proper open source bootloader, replacing the modified Cudy one
Warning! There is a significant risk of bricking your router if the process goes wrong. If the BL2 or FIP partitions are broken, you will need to dismantle the router and flash a bootloader using the serial pads on the PCB. This guide doesn’t cover how to do that, but you can follow the install steps on the T-56 device page which documents a similar process.
Backup OEM partitions
The ubootmod install process changes the partition layout on the WR3000P, which will overwrite the OEM partitions and the data they contain, so it is very important that you backup these partitions before you proceed with the ubootmod process. If you haven’t done so already, follow the steps in the “Backup OEM partitions” section above before continuing.
You will also need to SSH in to the router and run commands in a shell, so you will need to flash it with a version of OpenWrt, for example the intermediate openwrt image. If you’ve not done so already, follow the steps above to flash the intermediate openwrt image onto the router.
Prep a TFTP server with a rescue image
On your client device, install a TFTP server. I use Linux, so the instructions here are Linux specific, but if you’re using Windows there are instructions on how to do this here.
Install the tftps-hpa package:
sudo apt install tftpd-hpa
The default config should be fine. It will serve files from the /src/tftp directory.
Download an OpenWrt initramfs rescue image. Note, you’ll need the ubootmod one because the partition table will have been modified when it boots:
wget https://downloads.openwrt.org/releases/25.12.6/targets/mediatek/filogic/openwrt-25.12.6-mediatek-filogic-cudy_wr3000p-v1-ubootmod-initramfs-recovery.itb
Copy it to the /src/tftp directory, renaming it like so:
sudo cp -p Downloads/openwrt-25.12.6-mediatek-filogic-cudy_wr3000p-v1-initramfs-kernel.bin /srv/tftp/openwrt-mediatek-filogic-cudy_wr3000p-v1-ubootmod-initramfs-recovery.itb
Make sure your client device is allowing connections to the TFTP port 69. I had to stop my firewall temporarily.
Test it from your router:
ssh root@192.168.1.1
apk update
apk add atftp
atftp
tftp> connect 192.168.1.XXX
tftp> get openwrt-mediatek-filogic-cudy_wr3000p-v1-ubootmod-initramfs-recovery.itb
tftp> quit
Replace XXX with the last octet of your client device’s IP address. You should have the above file on the router. If not, it didn’t work.
Download the new bootloader images
On the router, SSH in and do the following:
ssh root@192.168.1.1
apk add curl
curl -L https://downloads.openwrt.org/releases/25.12.6/targets/mediatek/filogic/openwrt-25.12.6-mediatek-filogic-cudy_wr3000p-v1-ubootmod-preloader.bin > /tmp/bl2.bin
curl -L https://downloads.openwrt.org/releases/25.12.6/targets/mediatek/filogic/openwrt-25.12.6-mediatek-filogic-cudy_wr3000p-v1-ubootmod-bl31-uboot.fip > /tmp/uboot.fip
Verify the image files are valid by comparing the SHA256 hashes against the openwrt download page:
sha256sum /tmp/uboot.fip /tmp/bl2.bin
b35a8b367315d7db78c948234a8f71a17f9486d68814d200b3b893726a59976d  /tmp/uboot.fip
9be2b11ca74912f29ef984e33b8ced740a9bdb02411ba9dcb9b464bcf53e5442  /tmp/bl2.bin
Flash the bootloader images
Tell openwrt to allow writing to the bootloader partitions. This is blocked by default. Load the mtd-rw module with the “i_want_a_brick” flag to allow writes to the bootloader partitions.
apk add kmod-mtd-rw
insmod mtd-rw i_want_a_brick=1
Now flash the BL2 and FIP partitions:
mtd write /tmp/bl2.bin BL2
mtd write /tmp/uboot.fip FIP
Now disconnect the network cable from the Lan port and add the IP address 192.168.1.254 to your client device on the interface that will be connected to the router.
sudo ip addr add 192.168.1.254/24 dev enp0s31f6
Now power off the router, connect the network cable and power the router back on. After a minute or so you should see the LEDs on the router flash rapidly and then settle. You should then be able to SSH into the rescue system:
ssh root@192.168.1.1
Reformat the mtd5 (ubi) partition to make use of all the available space
ubidetach -p /dev/mtd5
ubiformat -y /dev/mtd5
ubiattach -p /dev/mtd5
ubimkvol /dev/ubi0 -n 0 -N ubootenv -s 128KiB
ubimkvol /dev/ubi0 -n 1 -N ubootenv2 -s 128KiB
Flash a sysupgrade image onto the uci partition
Grab the sysupgrade image on your client device, remembering to use the ubootmod one:
wget https://downloads.openwrt.org/releases/25.12.6/targets/mediatek/filogic/openwrt-25.12.6-mediatek-filogic-cudy_wr3000p-v1-ubootmod-squashfs-sysupgrade.itb
Now in your browser, open http://192.168.1.1/. You should see the OpenWrt Luci login page. Click the Login button (there’s no password yet) and go to System -> Backup / Flash Firmware, then under the “Flash new firmware image” section, select the sysupgrade image you downloaded above, and flash it. Do not keep the settings as there aren’t any yet.

After a minute or so, the router will reboot and you will see the login screen for your new OpenWrt system with the ubootmod partition layout.
Restoring the OEM partition layout and firmware
I haven’t tried this myself, but in theory you can flash the BL2 and FIP partitions from the backups you took earlier, then follow Cudy’s recovery guide to install the OEM firmware.
The steps to do this are documented here.
References
- OpenWrt’s Filogic ubootmod recovery page
- [25.12] mediatek: add OpenWrt (U-Boot layout) for Cudy WR3000P/H/S/E v1 + add common ATF DDR4 target
- Instructions for flashing the U-boot bootloader and layout
- Cudy’s recovery guide
- 4pda instructions on reflashing from u-boot to OEM partition layout
- Guide to flashing the U-Boot bootloader onto a Cudy TR3000
- Guide to recovering a broken bootloader and flashing via the serial on a ZyXEL T-56